This is a run through simple demonstration of deploying application using Kubectl and Kubernetes using Amazon EKS.
Kubernetes aims to run containers across many different machines and scaling up or down by adding or removing containers when demand changes.
I’ts been a while since I posted on this blog. So here it goes. 😀
I. Prerequisites
Before we can start we need to setup some accounts and command-line utilities:
1. AWS Account
2. EC2 Key Pair — Create an EC2 Key Pair if you don’t already have one.
3. AWS CLI — Amazon EKS requires at least version 1.15.32 of the AWS CLI
4. Document for EKS: https://docs.aws.amazon.com/eks/latest/userguide/getting-started.html
II. Setup and Configure kubectl for Amazon EKS
$ curl -s https://packages.cloud.google.com/apt/doc/apt-key.gpg | sudo apt-key add -
$ sudo touch /etc/apt/sources.list.d/kubernetes.list
$ echo "deb http://apt.kubernetes.io/ kubernetes-xenial main" | sudo tee -a /etc/apt/sources.list.d/kubernetes.list
$ sudo apt-get update
$ sudo apt-get install -y kubectl

$ aws eks update-kubeconfig --name so_cluster
III. Installing aws-iam-authenticator:
$ go get -u -v github.com/kubernetes-sigs/aws-iam-authenticator/cmd/aws-iam-authenticator
$ export PATH=$HOME/go/bin:$PATH && echo 'export PATH=$HOME/go/bin:$PATH' >> ~/.bashrc
IV. Create Worker Nodes: Common Problems
1. The cluster-name should be equal to the cluster created on the Cloud Formation parameter.
2. The NodeInstanceRole value from Cloud Formation Stack Output and placing it at aws-auth-cm.yaml rolearn as value.
Filename: aws-auth-cm.yaml
apiVersion: v1
kind: ConfigMap
metadata:
  name: aws-auth
  namespace: kube-system
data:
  mapRoles: |
    - rolearn: <ARN of instance role (not instance profile)>
      username: system:node:{{EC2PrivateDNSName}}
      groups:
        - system:bootstrappers
        - system:nodes
When everything is up and working good, we should be able to see it running:
$ kubectl get nodes
NAME                           STATUS   ROLES    AGE   VERSION
ip-172-30-0-28.ec2.internal    Ready    <none>   6m    v1.11.5
ip-172-30-4-123.ec2.internal   Ready    <none>   6m    v1.11.5

$ kubectl get svc --all-namespaces
NAMESPACE     NAME         TYPE        CLUSTER-IP    EXTERNAL-IP   PORT(S)         AGE
default       kubernetes   ClusterIP   10.100.0.1    <none>        443/TCP         32m
kube-system   kube-dns     ClusterIP   10.100.0.10   <none>        53/UDP,53/TCP   32m
Get some Nginx running on this cluster, create replica:
$ kubectl create deployment nginx --image=nginx
deployment.apps/nginx created

$ kubectl scale deployment --replicas 2 nginx

$ kubectl get pods --all-namespaces
NAMESPACE     NAME                       READY   STATUS    RESTARTS   AGE
default       nginx-78f5d695bd-8qvmx     1/1     Running   0          28s
default       nginx-78f5d695bd-fq6dc     1/1     Running   0          4m
kube-system   aws-node-wc7sc             1/1     Running   0          16m
kube-system   aws-node-xjrqh             1/1     Running   0          16m
kube-system   coredns-7bcbfc4774-5psht   1/1     Running   0          41m
kube-system   coredns-7bcbfc4774-wrmwx   1/1     Running   0          41m
kube-system   kube-proxy-522bd           1/1     Running   0          16m
kube-system   kube-proxy-jw2l9           1/1     Running   0          16m
Expose Nginx to the public:
$ kubectl expose deployment nginx --port=80 --type=LoadBalancer
service/nginx exposed
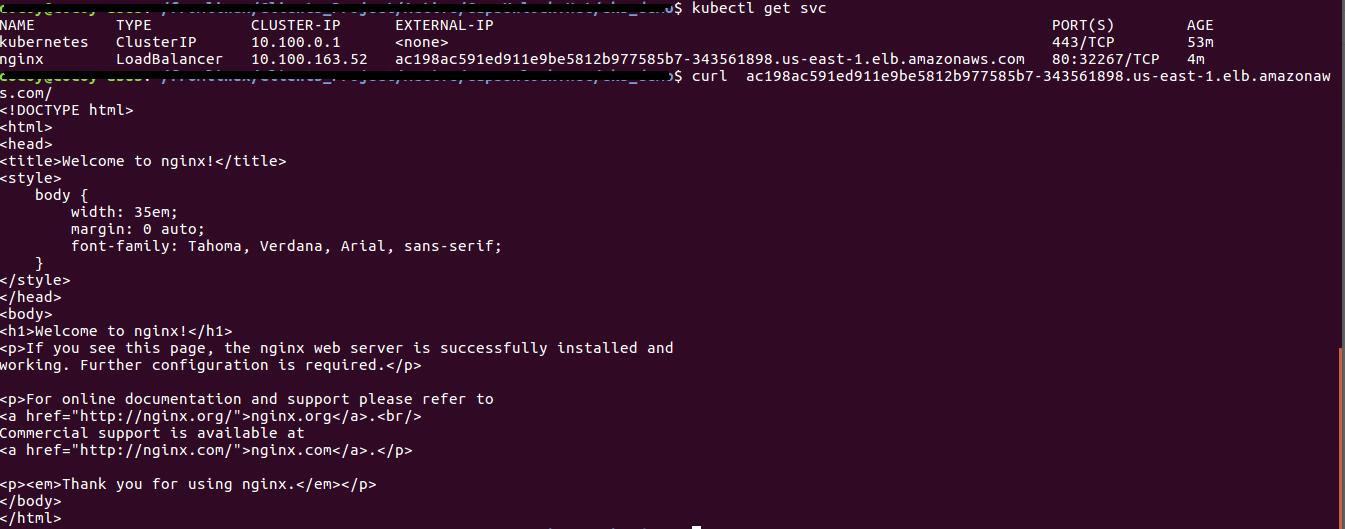
$ kubectl get svc
NAME TYPE CLUSTER-IP EXTERNAL-IP PORT(S) AGE
kubernetes ClusterIP 10.100.0.1 <none> 443/TCP 53m
nginx LoadBalancer 10.100.163.52 ac198ac591ed911e9be5812b977585b7-343561898.us-east-1.elb.amazonaws.com 80:32267/TCP 4m
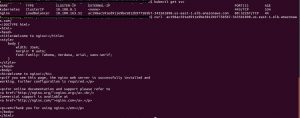
The EXTERNAL IP provided is an URL where we can map as CNAME to our Route53 or DNS. We can check by hitting the URL too:
In some cases the deployment and services are bundled as JSON like this one on the sample guestbook, we can run it like:
$ kubectl apply -f https://raw.githubusercontent.com/kubernetes/examples/master/guestbook/all-in-one/guestbook-all-in-one.yaml
service/redis-master created
deployment.apps/redis-master created
service/redis-slave created
deployment.apps/redis-slave created
service/frontend created
deployment.apps/frontend created

$ kubectl get svc
NAME           TYPE           CLUSTER-IP      EXTERNAL-IP                                                              PORT(S)        AGE
frontend       ClusterIP      10.100.94.40    <none>                                                                   80/TCP         1m
kubernetes     ClusterIP      10.100.0.1      <none>                                                                   443/TCP        1h
nginx          LoadBalancer   10.100.163.52   ac198ac591ed911e9be5812b977585b7-343561898.us-east-1.elb.amazonaws.com   80:32267/TCP   18m
redis-master   ClusterIP      10.100.36.121   <none>                                                                   6379/TCP       1m
redis-slave    ClusterIP      10.100.168.28   <none>                                                                   6379/TCP       1m
Oops, there we can’t access the guestbook publicly. We need to patch because I forgot to uncomment the type=Loadbalancer, but we can easily create a patch file of that service and do the command below:
$ kubectl patch svc frontend --patch "$(cat frontend_service.patch)"
service/frontend patched

$kubectl get svc
NAME           TYPE           CLUSTER-IP      EXTERNAL-IP                                                               PORT(S)        AGE
frontend       LoadBalancer   10.100.94.40    a395b01401edc11e9b7f40eb3bd0ef0f-1905156859.us-east-1.elb.amazonaws.com   80:32584/TCP   8m
kubernetes     ClusterIP      10.100.0.1      <none>                                                                    443/TCP        1h
nginx          LoadBalancer   10.100.163.52   ac198ac591ed911e9be5812b977585b7-343561898.us-east-1.elb.amazonaws.com    80:32267/TCP   25m
redis-master   ClusterIP      10.100.36.121   <none>                                                                    6379/TCP       8m
redis-slave    ClusterIP      10.100.168.28   <none>                                                                    6379/TCP       8m
Yeah so here it goes our Guestbook.

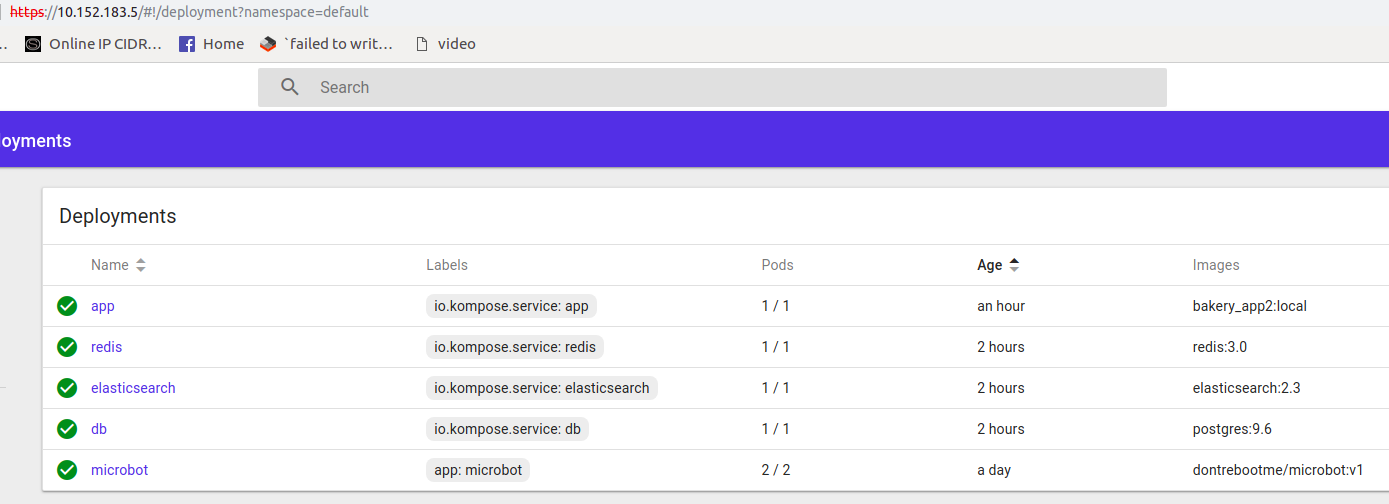
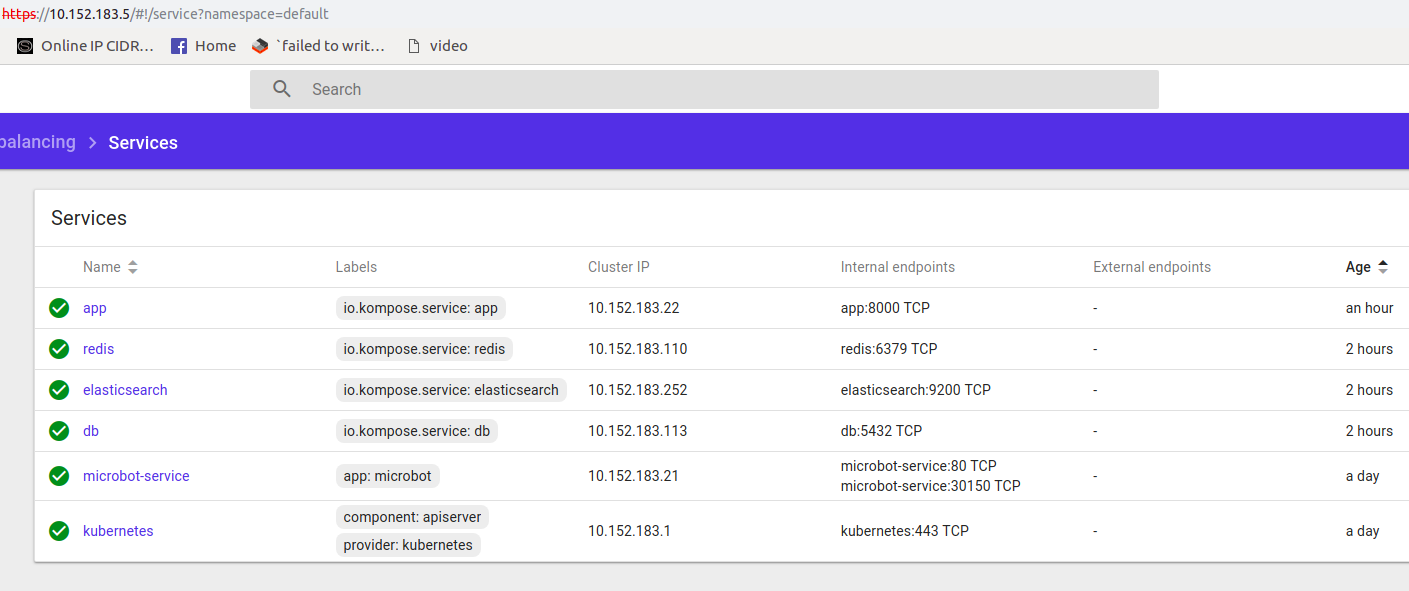
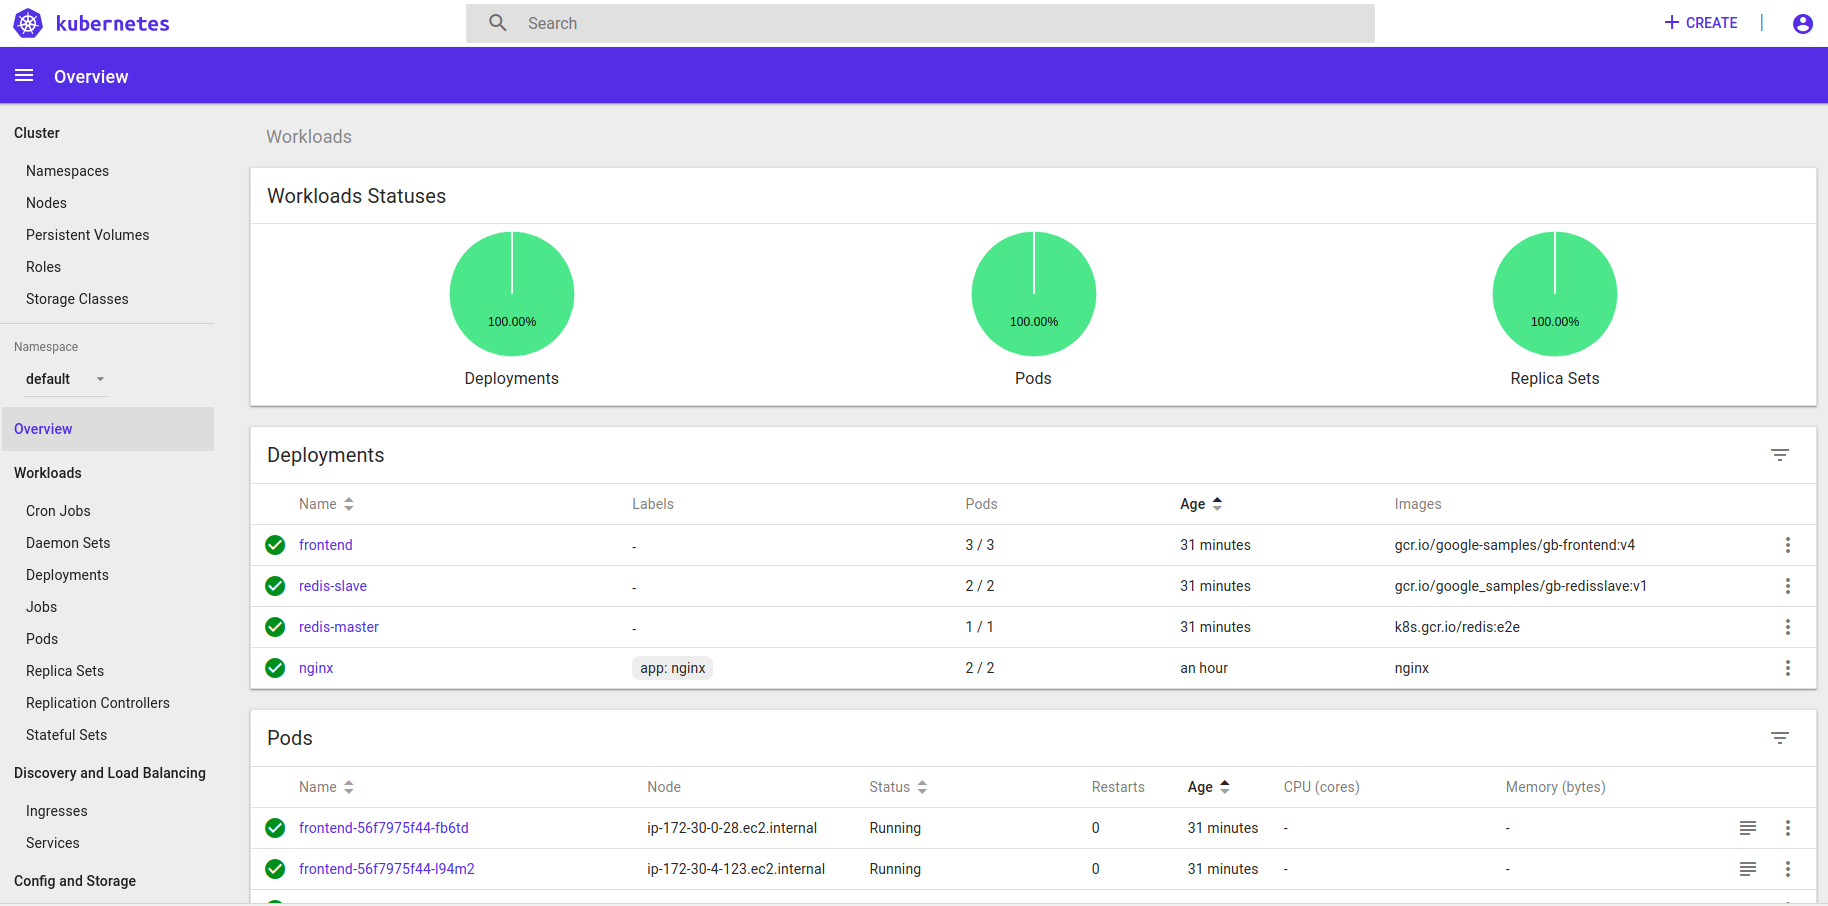
Finally, if we want to see how the dashboard looks like, we can view that too by applying the dashboard json files and running kubectl proxy. Here’s the snapshot of the dashboard.

Go fire up Dockerized apps using Kubernetes and if you need a Kubernets guy? Please reach out. 🙂